Showing posts with label Projects. Show all posts

Monday, October 1, 2012

diy {pennant}

I love pennants.
They're so simple, but they add so much to a room.
I've been getting tired of my old curtains so i was looking for something new.
I decided to make a pennant to hang in the window.
 
I started out by making a pattern.
It was about 5 1/2" by 4".
When I cut them out they weren't exactly perfect, so I just trimmed them down.
I cut out 20 of them.


Then I just sewed two of them together.
I figured it would be too hard to sew them with the patterns toward each other and then turn them right side out, so I just sewed them with the patters facing out.
 
 
I cut a strip of white fabric about an inch wide.
I folded it over the top of the pennant pieces and sewed it on.
I hate pinning things together so I just free handed it.
It turned out just fine.


I gave it a quick iron before I hung it up.


{Happy Monday!}


Tuesday, September 18, 2012

10 for 10 {10 reasons to make a dreamcatcher}

I've been wanting to make a dreamcatcher for a while,
but I had no idea how to make one. I finally saw this idea on Pinterest.
{sorry, I tried to find the source but I couldn't}
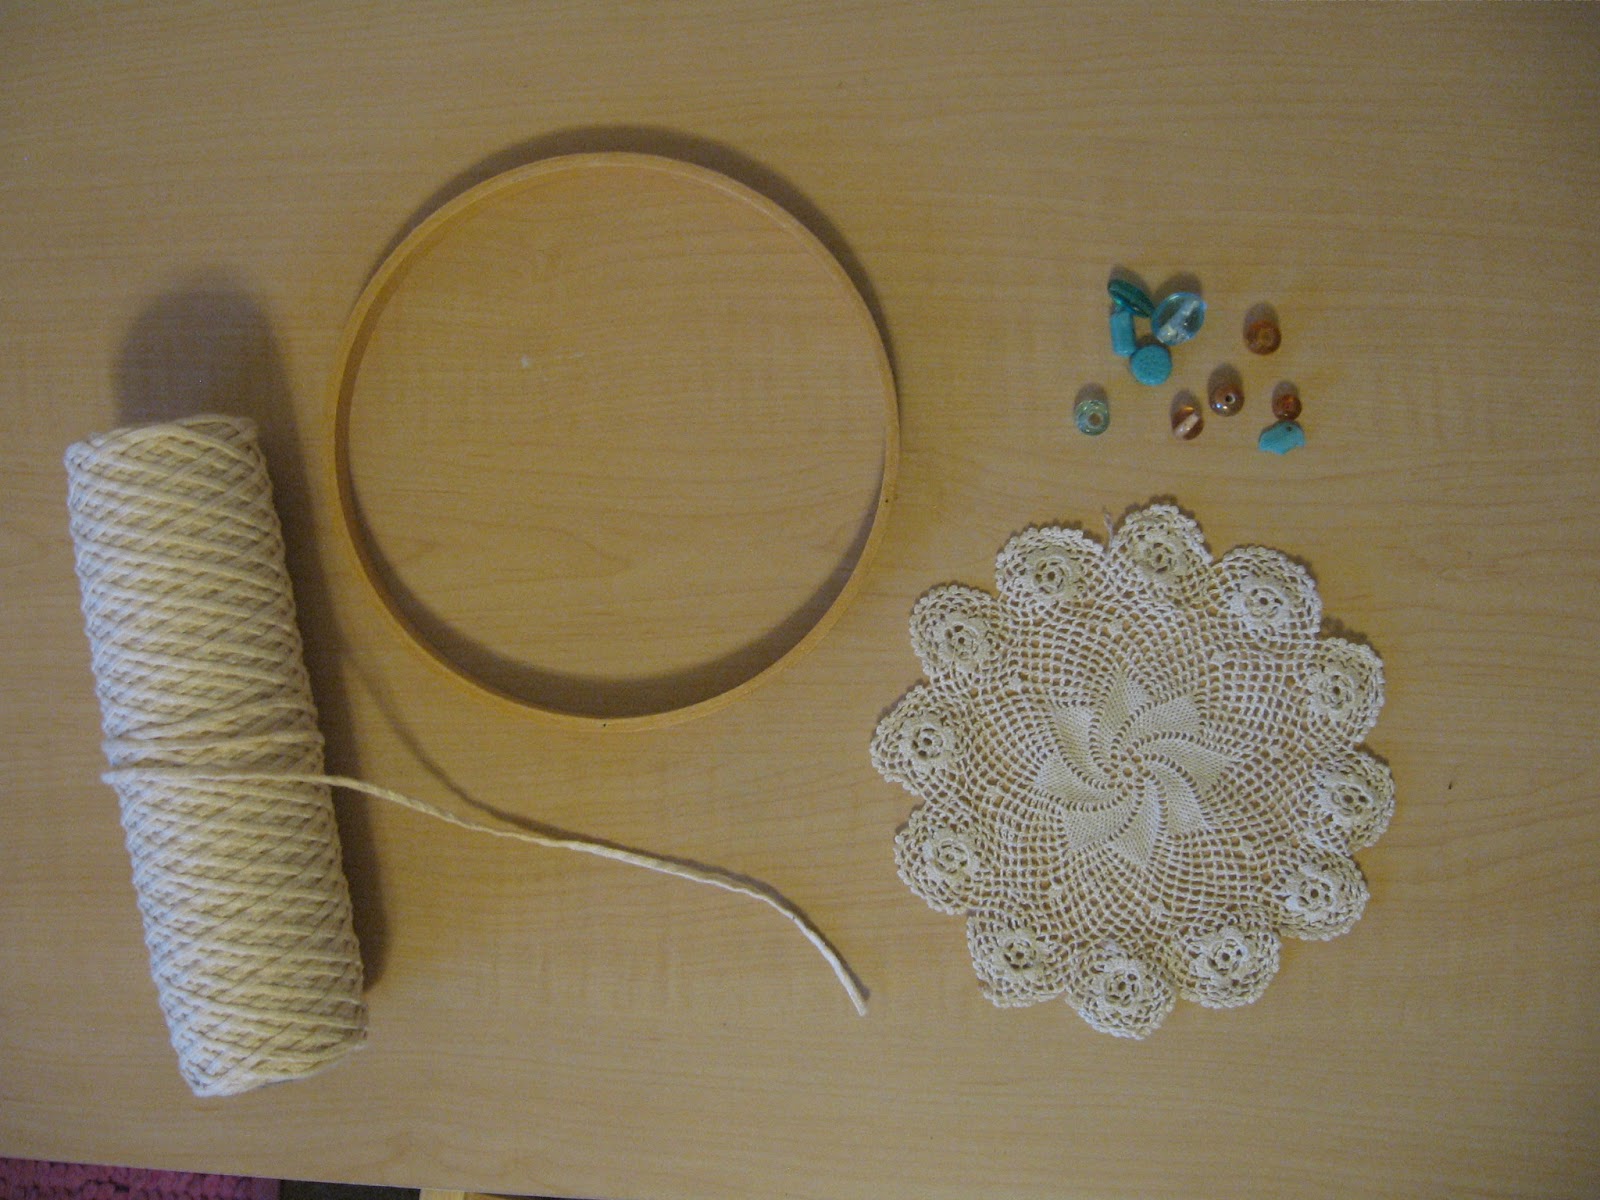
These are the supplies I used. The inside of an embroidery hoop, a doily,
some string/cord and some beads.

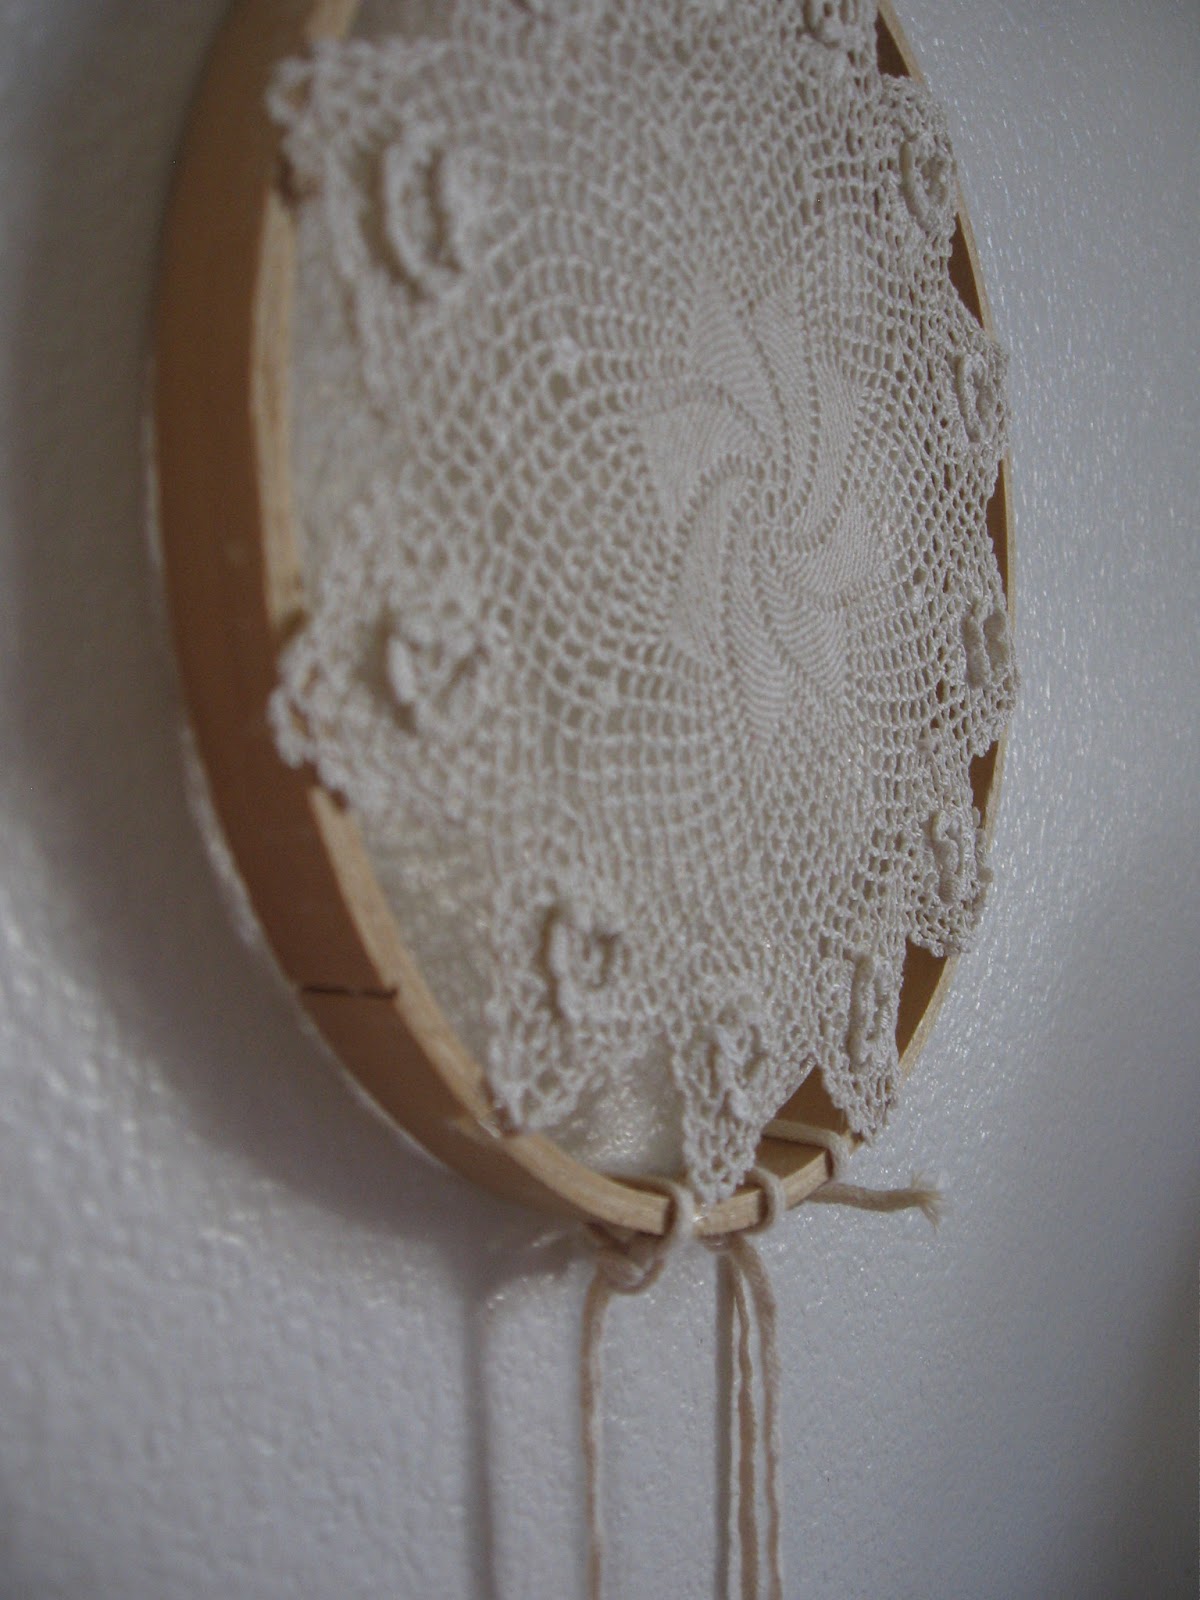
I put a dab of hot glue on the embroidery hoop and then pressed the tip of the doily on it.

I threaded the beads on the cord and tied a knot in between each of them.
I just double knotted it onto the hoop.

 
10 reasons to make a dream catcher:
{1. they catch bad dreams}
{2. they use old lace doilies}
{3. They are super easy to make}
{4. They're a super cool decoration}
{5. You get to use beads}
{6. they're really quick to make}
{7. They are way cute}
{8. They make great wall hangings}
{9. They make me happy}
{10. they help you have good dreams}


Friday, September 14, 2012

10 for 10 {10 steps to refinishing a cabinet}


I found this cabinet and I just had to fix it up.
I've been looking for a new side table for a while and I decided this would work perfectly.
It did need a lot of work though.
{1. find a cabinet}

This is it before. It had 50 year old tape plastered to the side,
one of the drawers had some sticky gunk in it, and the paint was all chipped.

{2. pick all of the 50 year old tape off}

{3. scrape the sticky gunk out of the drawer}

I had to sand it town twice to get the surface nice and smooth.

{4. sand}

I had to do a coat of metal primer. I used a primer called "Rustoleum".
I put that on with a roller.

{5. paint on a coat of primer}

When I started putting the top coat on with a roller it left way too much texture behind.
I was not happy with the way it looked so I switched to a paint brush.

{6. apply top white coat}

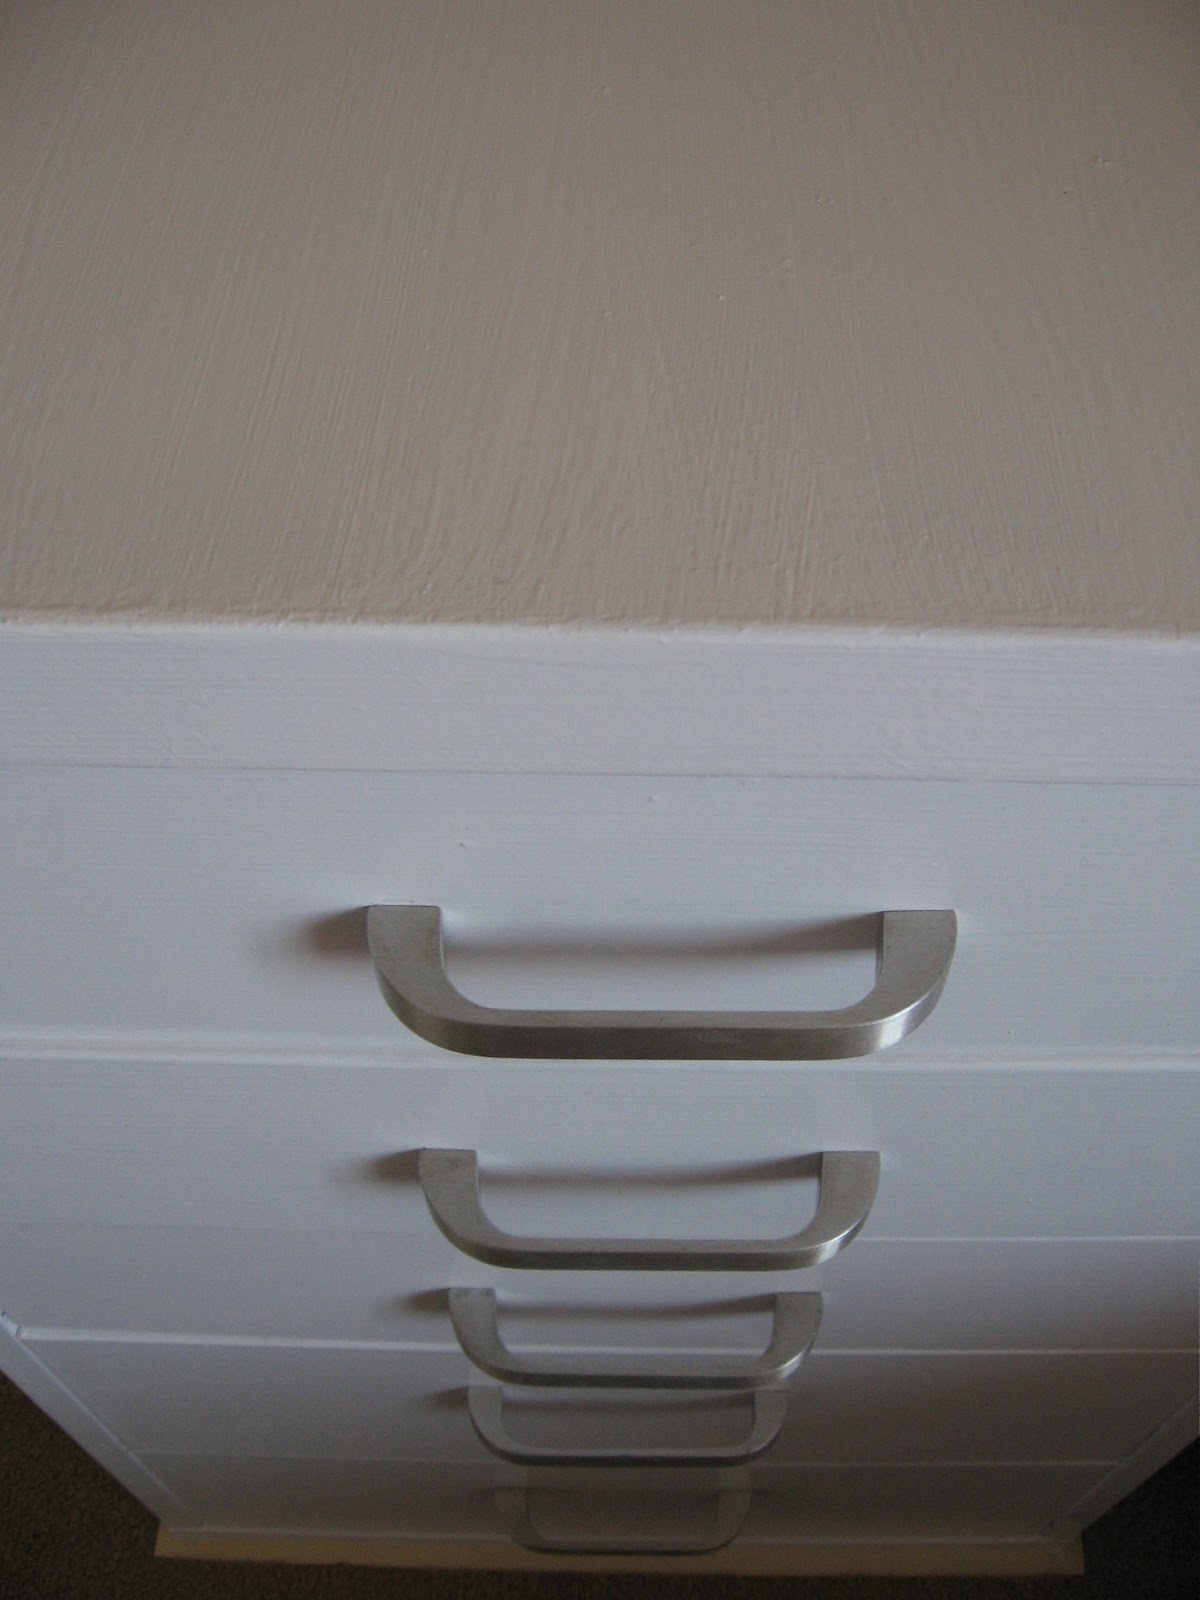
The brush marks didn't show up as much as the texture from the roller. I had to do two coats so the brush strokes wouldn't show as much. It was totally worth it though.
I am so happy with the finished product.

{7. apply another top coat}

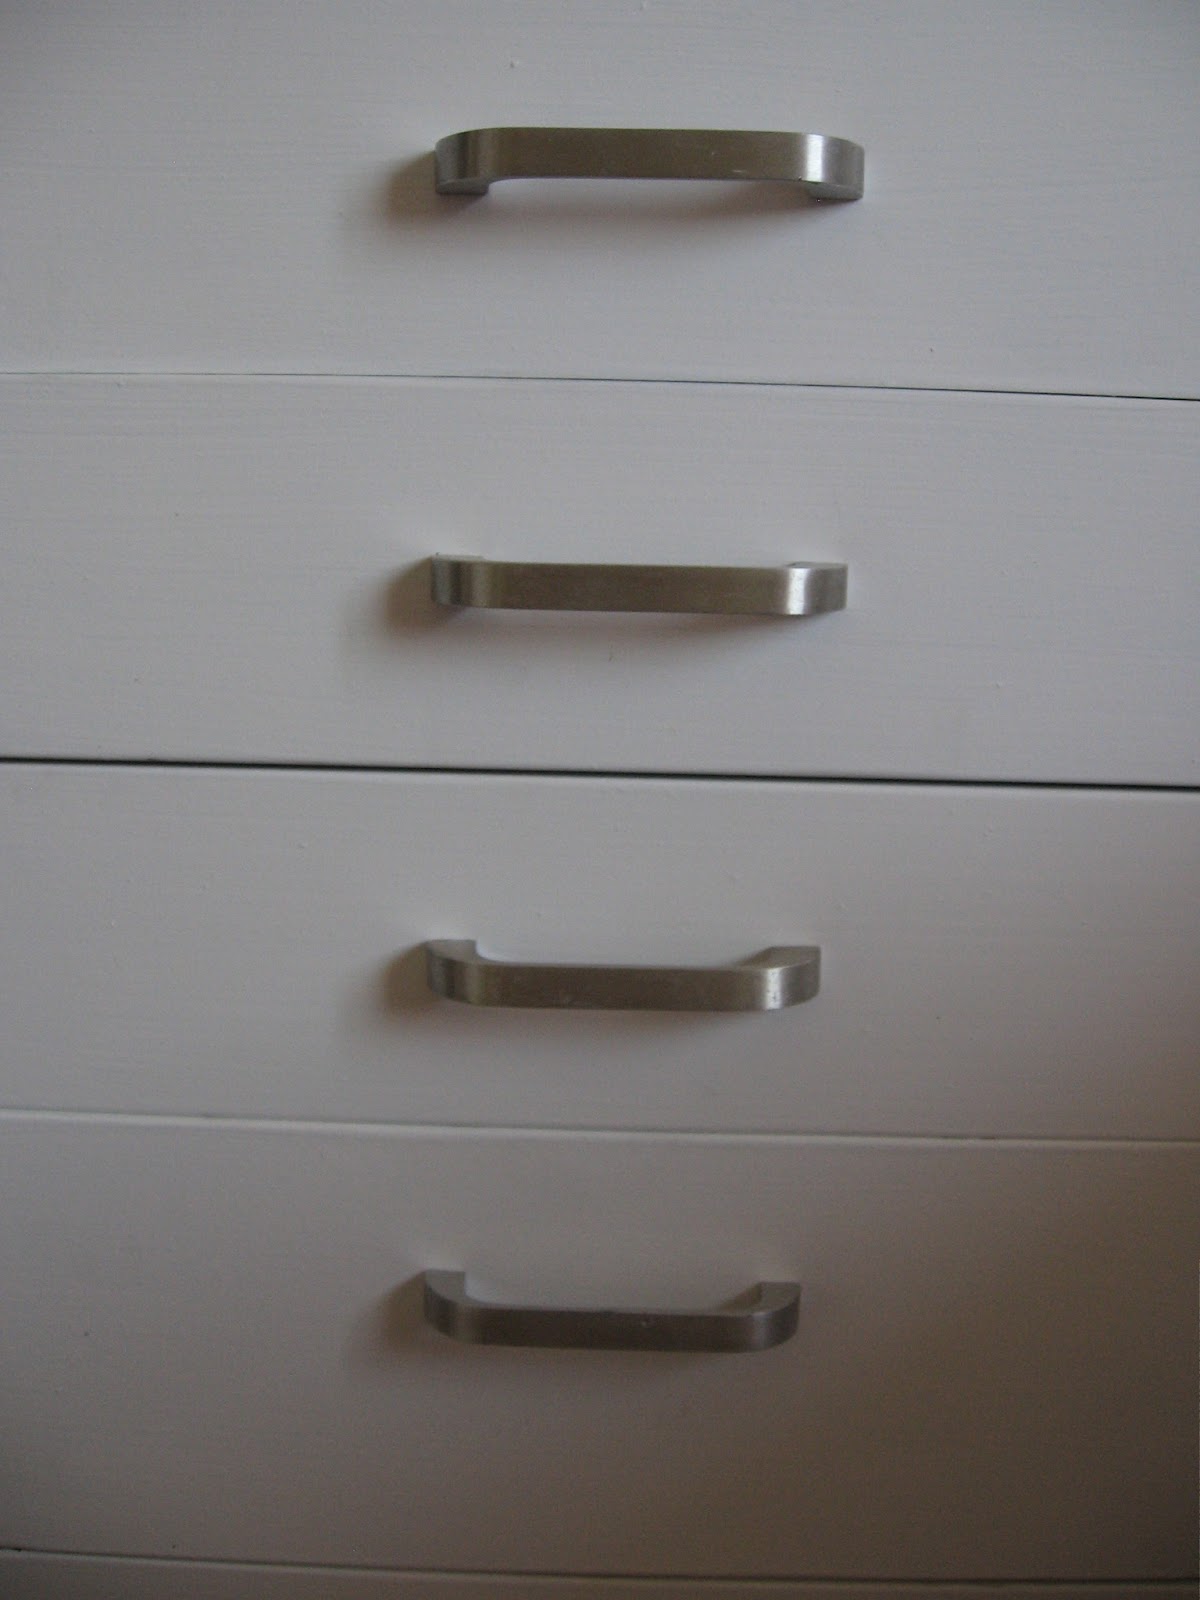
The handles were quite dirty and had residue on them.
I cleaned them up with some soap and steel wool.

{8. clean up handles}

I am super happy with how it turned out.
I was kind of freaked out when the texture showed a lot with the roller,
but it all worked out.

{9. move into room}


{10. fill with lots of fun stuff!}

Monday, July 23, 2012

diy (canvas bag)

I haven't been doing a whole bunch of crafty stuff lately, so I decided to make a new little bag. I got my inspiration from here. I found a canvas bag that we had. The only problem is that it had a big picture printed on one of the sides. I wasn't a fan of the picture, so I just sewed some fabric over it for the back.


On the front I made a little pattern with fabric paint and a paper doily. I cut a circle out of some card stock paper and used the hole that it made. I put the hole on the fabric and then placed the doily inside. I then painted it. I was having trouble deciding what color to do it in, but I finally decided on red.


 I didn't like the pattern all by itself, so I made some rosettes to put in the middle. (tutorial here)

 This is the fabric I put on the back to cover up the unwanted picture.


 I put a little pennant across the top of the bag. I just used embroidery floss to attach it.

 This is the bag before I sewed the pennant and the rosettes on.

 And this is the finished product!

Thursday, June 28, 2012

A new addition to my wall

I used to have a big bulletin board up on my wall before I put up my map. I've been missing it. I like to have somewhere to hang pictures, quotes and reminders. The thing is that I also love my map. I didn't want to have to take it down to hang up my bulletin board. I tried looking for a smaller one that I could hang next to my map, but I didn't have any luck. I finally decided to cut down the bigger one that used to hang on my wall. It was a lot easier than I thought it was going to be. I painted the frame, so that it would match the map. I love the finished product. It's not too big, but it's perfect for what I need it for.


Just a quick brakedown of everything on the bulletin board:

 This is one of my favorite quotes. It's from Monk, my all time favorite TV show.

 Just a random mustache I drew. I have aquired a love for them lately.

 A postcard my good friend sent me from Australia.

 I saw this on Pnterest and had to make one for myself. Take what you need: courage, hope, faith, bravery....
 A quote I typed up on this paintchip with my typewriter.

 I love the colors on this card I got. I had to do something with it besides putting it in a box or drawer.

I'm in love with this chair. I love the colors and the vintageness.

And just one last look at the new addition to my wall.

Thursday, June 14, 2012

diy (fabric flowers)

I've seen these flowers around and I really like them. I've seen them on headbands, clothes and bags. I just had to make some even though I'm not exactly sure what I'm going to do with them. They were a lot easier then I thought they were going to be. I know an eight year old that makes them without any trouble. You can use any kind of fabric you want. You'll also need a hot glue gun and scissors.

1. Cut out a circle. The smaller the circle, the smaller the flower. It doesn't have to be perfect.
2. Fold the circle in half. Once again, it doesn't have to be perfect.
3. Put a dab of hot glue in the middle of the circle after it's folded in half. After you put the glue on, fold the circle in half so it's in quarters.
4. Glue all of the pieces you make together in order to make a flower.


These are the three that I made. I'm not sure what I'm going to use them for, but I think they turned out pretty good.

Monday, June 11, 2012

Bracelet (Rosettes)

I've always been fond of rosette flowers and I've been wanting to do something with them. They're really simple and easy to make. I found a tutorial here. It was very helpful and luckily I caught on quickly. I made them once before for a bag that I made. (As seen here) I wanted to be able to show off my rosettes after I made them, so I decided to make a bracelet. I made a big rosette and then a smaller one. I just hot glued them onto a ribbon for a simple, yet very cute, bracelet.


By the way, the polka dot background is my new yellow polka dotted dress. It just makes me feel happy inside when I see it. So bright and happy!

Saturday, May 26, 2012

A rainy day and a little craft

It's been rainy all day so we spent the day inside. I was looking on Pinterest for a little inspiration when I stumbled upon this. I like the style, but not necessarily the "gypsy" charm.

I like the multiple bracelets grouped together. I decided it would be nice to have a new little accessory, so I pulled out all of our beads. I already had a light blue bracelet, so I just decided to match my new bracelets to that so I wouldn't have to make as many. I made a turquoise one with some gold accents. For the other one I just braided some crafting string together. I was going to do a fishtail braid with it, but I didn't cut enough string, so I just settled for braiding it. I needed a new bright accessory for summer and this was just the thing. I threw it together in about twenty minutes. Pretty easy and very cute.