Monday, October 31, 2011

Gorgeous View

We have a Silver Maple in our front yard, and let me tell you, it's gorgeous. I've been wanting to take some pictures of it before it looses all of its leaves. I finally got around to it today. I was raking up some leaves from it and I looked up. Oh my, it was breath taking. The pictures don't do it justice, but I thought I'd share anyway.


Anyway, I'd just thought I'd share. Happy Halloween! Have a great one!

DIY Photo Board

I've been wanting to make a photo board for a while, so today I just sat down and did it. (That is, after I drove to the fabric store and got my fabric and rick-rack.) I looked on the internet to see if I could find any tutorials, but I didn't have any luck. I just kind of figured it out as I went. To save you from the mistakes I made, I decided to make a tutorial.

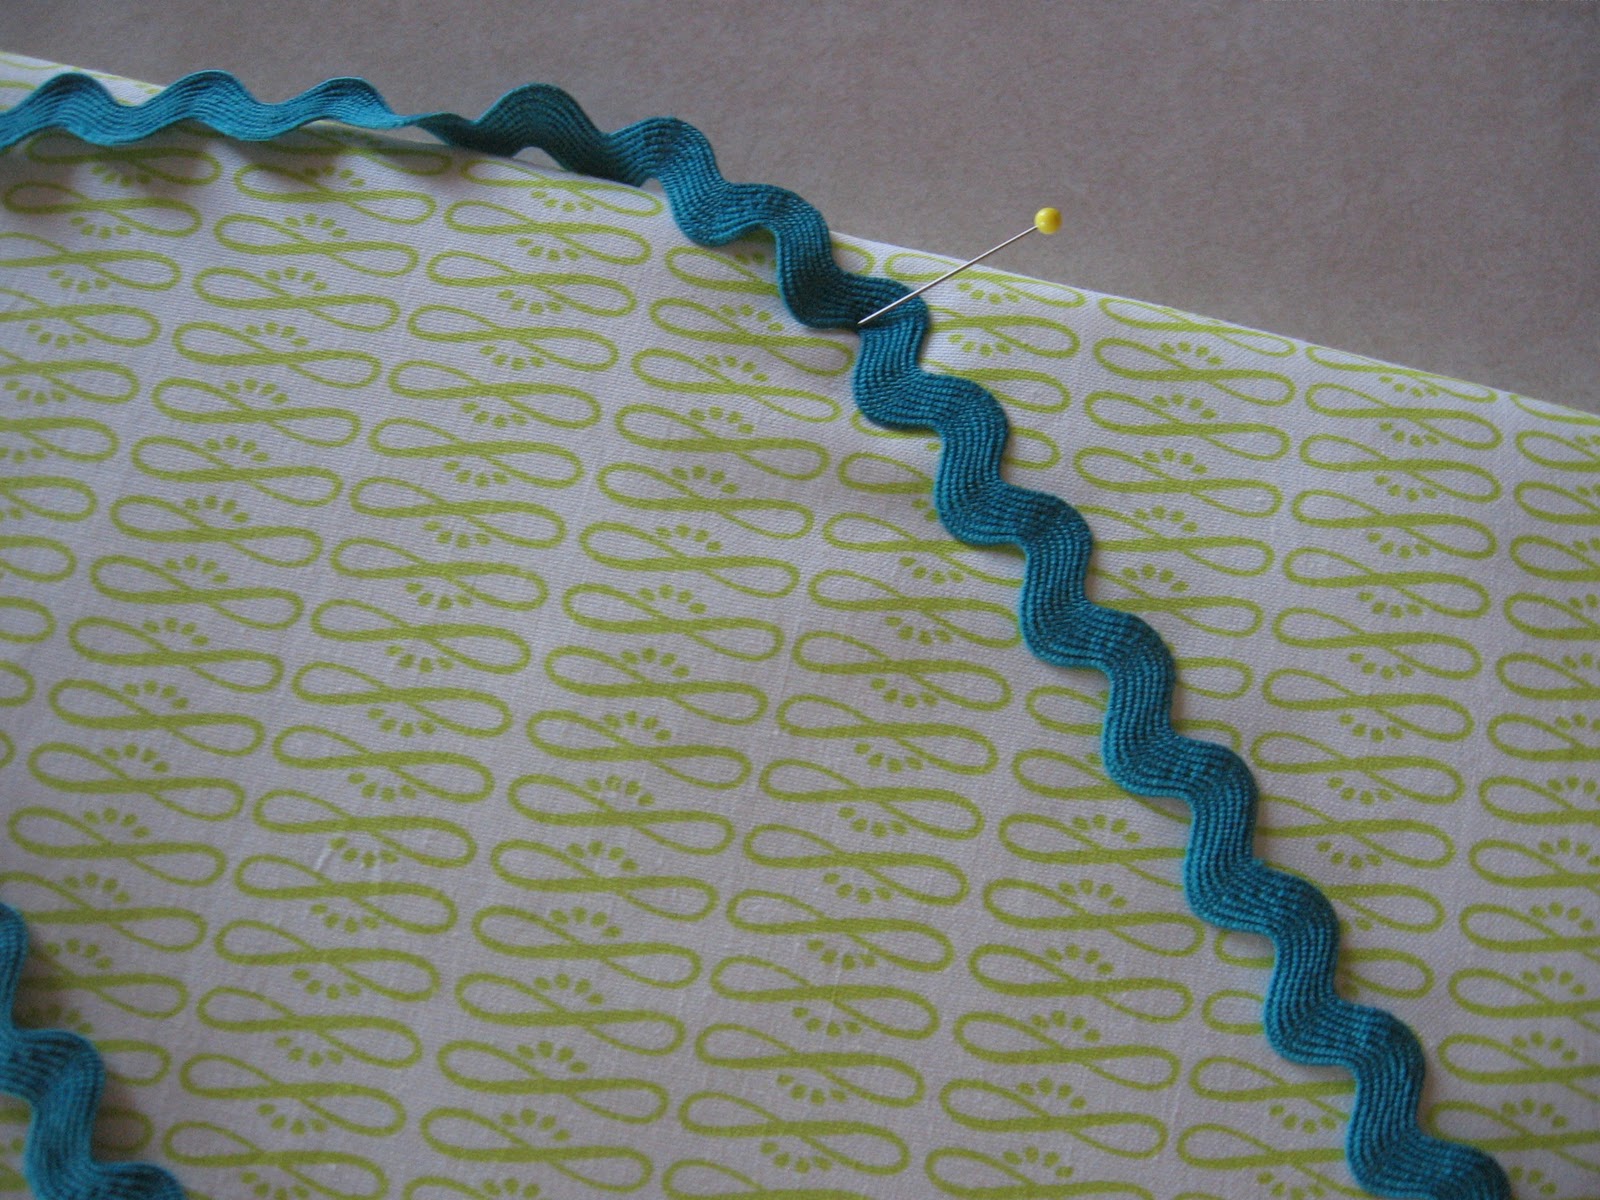
Alright, this is the fabric and ribbon that I chose. I really like how the green and turquoise contrast. You can use a fat quarter for this, it's just enough fabric. You can also use ribbon or rick-rack. Either one works great, but I just liked the way the rick-rack looked.

Here is a list of all of the materials you need:
Foam Board- 20x15 inches
Batting- a little bigger than foam board
Fabric- 24 1/2x 18 inches
Ribbon- Two 9 foot rolls or about 18 feet
Fabric Scissors
Hot glue gun
Ice pick (I'll explain later.)

You can choose what size you want your foam board to be (this is the size the photo board is going to be), but I think 20x15 inches is a good size. First off, you're going to take your batting and wrap it around your board. The batting needs to be a little bit bigger than the foam board. I then stapled the batting over the edge of the board. Space your staples about a 1/2 inch to an inch apart.

When you finish stapling the batting on it's time to attach your fabric. Make sure to iron it before hand. Your fabric needs to be about 24 1/2x18 inches. Lay your fabric over your board that is now covered with batting. If you're using fabric with a design make sure that it's straight, not all crooked. To attach the fabric I used clear heavy duty tape. To do the corners, fold them like you're wrapping a present.

Okay, so now that your fabric is attached, your board should look something like this.


The next step is to put the ribbon on. You can use ribbon, rick-rack or anything else like ribbon. I used about one and a half 9 foot rolls. Start on one corner and go diagonally down. I pinned all of the ribbon down first, so I could see what it was going to look like. You want to do this all the way across the board. I did each ribbon 5 inches apart. 


You then want to do it again, going the other way. When you're done there should be several squares. After I made sure that it looked alright from the front, I took the pins out and hot glued the rick-rack down on the back.  


Okay, so the next thing you're going to want to do is put something where the ribbon intersects. You can use buttons, pins, brads, etc. I decided to use brads. I had these vintage ones that I've been looking to use somewhere, so I decided to use those. This is where the ice pick comes into play. I tried to stab a hole through all of the layers with a pin, but the hole wasn't big enough. I decided to try an ice pick. It worked great because it was sharp and it left a big hole. You just have to be careful not to stab yourself. Anyway, so I put a brad on each of the main intersections. I put a little dab of hot glue on the back where the brad come through to make sure it didn't fall out.


The last thing I did was just put a little string on the back so I can hang it up. Make sure to get it in the middle, so it doesn't hang crooked.

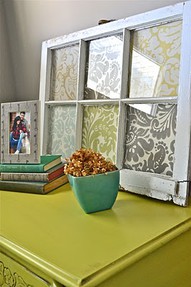
Here's the finished product. I hope you like it!


Oh, and by the way, Happy Halloween!

Sunday, October 30, 2011

Ahhh.........bread

Last night I had this craving for home made bread. I've always wanted to learn how to make it, but I've never gotten around to it. I've bugged my mom for years, trying to get her to make it, but I didn't have any success. Last night I gave in. I lugged our bread maker out of the basement and figured out how to make a basic loaf. I didn't have enough time to do it last night, or I would have had to stay up late waiting for it to be finished. So, I got up at 6:30 am today (I know. It's crazy to wake up that early on a Sunday morning) to make some bread. I wanted it to be finished before we had to go. Luckily, it was done about an hour before. It was really easy and only took about 10 minutes to throw the ingredients together. When it came out it didn't look the best, but boy oh boy, it tasted great. I am now waiting for another loaf to finish. I'm addicted to this stuff. As you can see below, my family is too. Oh, and the aroma is amazing. It makes your whole house smell like fresh bread. Ahhhh....I love home made bread.


As you can see we quickly polished off the first batch.


Here's a picture of the bread maker we have. It's super easy to use. It comes with an instruction book that has a ton of recipes. Once you throw all the ingredients in, you just push a couple of buttons, wait three
hours, and wah-la! A Delicious loaf of bread. 

Saturday, October 29, 2011

Happy Saturday

I confess. I don't have anything cool projects or pictures to share today. I know that I said I would, but I totally forgot about the Halloween party I was invited to today. I only had an hour to put together a costume. (I was a fairy.) Anyway, the party took a big chunk of my day and afterwards we decided to go shopping for kitchen faucets. We found one we liked and are now in the process of installing it. What fun. I'll try to be back tomorrow with some projects and pictures. I'm already working on several projects and I have some pictures that I want to take and share. I'll try to accomplish at least one so I can share it with you guys tomorrow. Sorry about all of the excuses I keep coming up with, but what can I say? I'm a very busy girl. For right now though, I'm stuck without any water (because we had to turn it off to install our faucet.) and I'm about ready to get ready for bed. Sadly though, I can't because of the lack of water. Why do we choose to turn the water off at 8:00 on a Saturday night? I have no idea.

Anyway, Have a happy Saturday!

Thursday, October 27, 2011

I need some inspiration...

Sorry guys, I haven't really shared any projects lately. I promise I'll be back soon with some projects/ posts about me. I won't bore you with tons of random pictures or anything. I'll think up something good. I have some ideas, but I've got to get to work on them. You know how it is, you really want to do something, but you can't ever seem to find the time. Well, that's what it's been like for me lately.
Anyway, I just want to share with you some furniture, paint colors, and projects that I like. Maybe it'll give you some inspiration. Maybe it'll give me some inspiration.


 I've seen this idea before and I think it's really cool. They take crayons and glue them onto a canvas. Then they blow dry it so they melt. It turns out really cool. I want to try it.

 Here's another angle. This one kind of shows how it looks a little more.
 I've been looking for boots forever! I can't seem to find any because I don't want a really big heel. I really like these ones. I like the buckles, the heels and the color. I want them!

 And then I really liked this jacket. I have this obsession with jackets. I love them. I have a whole bunch in my closet and I'm always looking for an opportunity to wear them. That's why I like fall and winter, because it's the perfect weather to wear jackets.

Tuesday, October 25, 2011

Autumn Is Here

I'm not a huge fan off fall, but I have to say that I love the leaves changing color. It's so beautiful. We have a Silver Maple in our front yard and it is just gorgeous. (I'll post some pictures tomorrow.) I love looking up in the hills and seeing all of the different colors and shades. It just takes my breath away.
Anyway here's some pictures to enjoy. Happy Tuesday!


Sunday, October 23, 2011

I Have a Confession

Sorry guys, I've been taking a break the last couple days. I've actually been at my cousin's cabin. So I've spent the last three days sleeping, riding 4 wheelers, having a wii competition, crafting and just hanging out with my family. It was gorgeous up there. The leaves were changing and some had even fallen already. There were a lot of aspens with their amazing yellow leaves. It was so beautiful.


And those are my new cute shoes. Aren't they adorable?!?! Their from Lands End. When I saw them I immediately fell in love and just had to get them. I got a great deal on them too.

Anyway, that's just a small snippet of all of the pictures I took. It was gorgeous and it had so many photo opportunities. I had a great time, even though I'm a little short on sleep. I love my family. They're so much fun to be with. It's never boring.
So that's about it. Did you have any fun weekend get aways? Find a great place for photos? Spent half of your weekend competing in a wii competition? Tell us about your fun weekend. We'd love to know.

See ya Monday! (I think)