I've been wanting to make a photo board for a while, so today I just sat down and did it. (That is, after I drove to the fabric store and got my fabric and rick-rack.) I looked on the internet to see if I could find any tutorials, but I didn't have any luck. I just kind of figured it out as I went. To save you from the mistakes I made, I decided to make a tutorial.
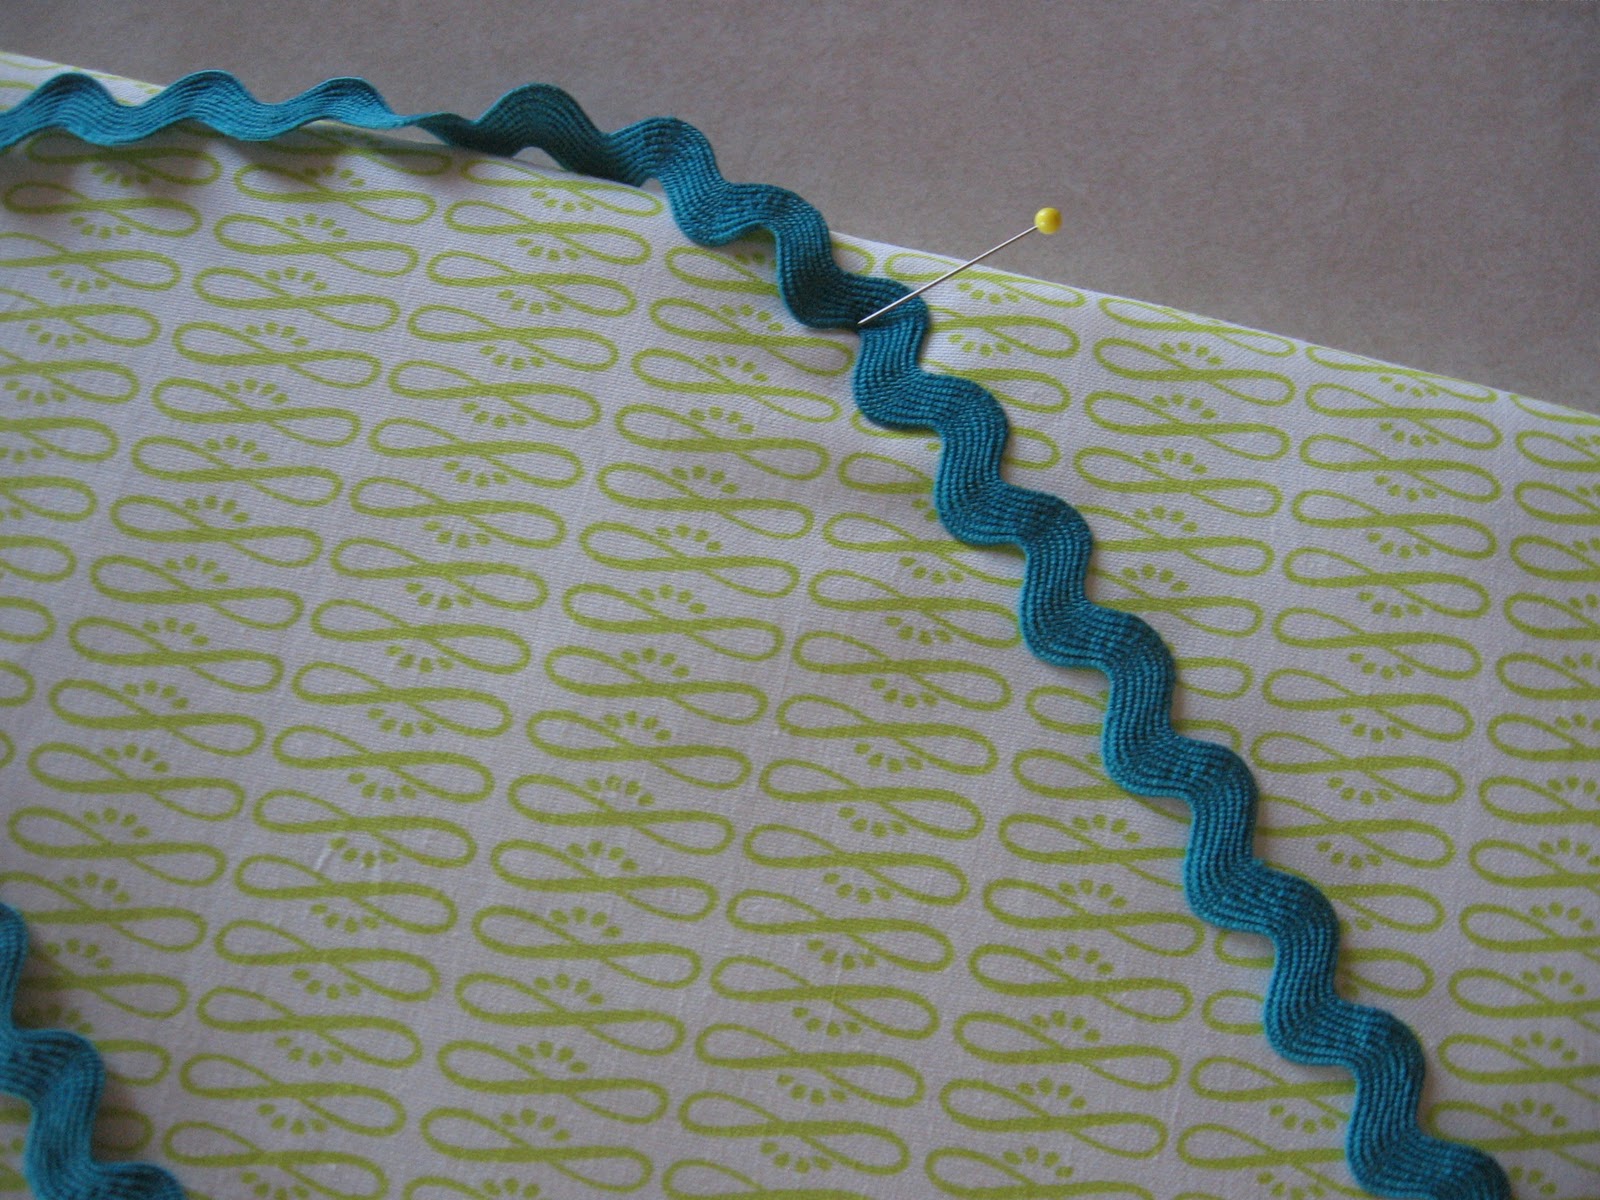
Alright, this is the fabric and ribbon that I chose. I really like how the green and turquoise contrast. You can use a fat quarter for this, it's just enough fabric. You can also use ribbon or rick-rack. Either one works great, but I just liked the way the rick-rack looked.
Here is a list of all of the materials you need:
Foam Board- 20x15 inches
Batting- a little bigger than foam board
Fabric- 24 1/2x 18 inches
Ribbon- Two 9 foot rolls or about 18 feet
Fabric Scissors
Hot glue gun
Ice pick (I'll explain later.)
You can choose what size you want your foam board to be (this is the size the photo board is going to be), but I think 20x15 inches is a good size. First off, you're going to take your batting and wrap it around your board. The batting needs to be a little bit bigger than the foam board. I then stapled the batting over the edge of the board. Space your staples about a 1/2 inch to an inch apart.
When you finish stapling the batting on it's time to attach your fabric. Make sure to iron it before hand. Your fabric needs to be about 24 1/2x18 inches. Lay your fabric over your board that is now covered with batting. If you're using fabric with a design make sure that it's straight, not all crooked. To attach the fabric I used clear heavy duty tape. To do the corners, fold them like you're wrapping a present.
Okay, so now that your fabric is attached, your board should look something like this.
The next step is to put the ribbon on. You can use ribbon, rick-rack or anything else like ribbon. I used about one and a half 9 foot rolls. Start on one corner and go diagonally down. I pinned all of the ribbon down first, so I could see what it was going to look like. You want to do this all the way across the board. I did each ribbon 5 inches apart.
You then want to do it again, going the other way. When you're done there should be several squares. After I made sure that it looked alright from the front, I took the pins out and hot glued the rick-rack down on the back.
Okay, so the next thing you're going to want to do is put something where the ribbon intersects. You can use buttons, pins, brads, etc. I decided to use brads. I had these vintage ones that I've been looking to use somewhere, so I decided to use those. This is where the ice pick comes into play. I tried to stab a hole through all of the layers with a pin, but the hole wasn't big enough. I decided to try an ice pick. It worked great because it was sharp and it left a big hole. You just have to be careful not to stab yourself. Anyway, so I put a brad on each of the main intersections. I put a little dab of hot glue on the back where the brad come through to make sure it didn't fall out.
The last thing I did was just put a little string on the back so I can hang it up. Make sure to get it in the middle, so it doesn't hang crooked.
Here's the finished product. I hope you like it!
Oh, and by the way, Happy Halloween!